Introduction
The previous newsletter covered how to create a map leading Google to your most important pages. In this installment, we will cover how to customize your map so that you control how Google views your content and submit your map to Google when you’re done creating it.
Although this guide may seem somewhat technical, building a correct sitemap will increase your visibility on Google Search and lead to more customers finding your products faster.
How to Read an XML Sitemap
An XML sitemap is not just a list of the most important URLs on your site. You can also use it to tell Google more information about your URLs and how they relate to each other.
Here is what the information means in a sitemap:

In general, it is better to keep your pages updated and not change your URLs very much. For example, a college or a university might keep the same URL for a course up on their site for three years but update the content on that page every year (as opposed to using a new URL for the new school year). In the sitemap, they would set the priority to 1 (because it is a revenue-generating page) and the changefreq to yearly.
If you have a WordPress site and use Yoast to build your sitemap, you will not be able to set the priority field. However, Yoast automatically includes the last modified date of each URL, so Google will prioritize the freshest content.
Customize Your Sitemap
If you use WordPress and created an XML sitemap using the Yoast plugin, skip to the next section.
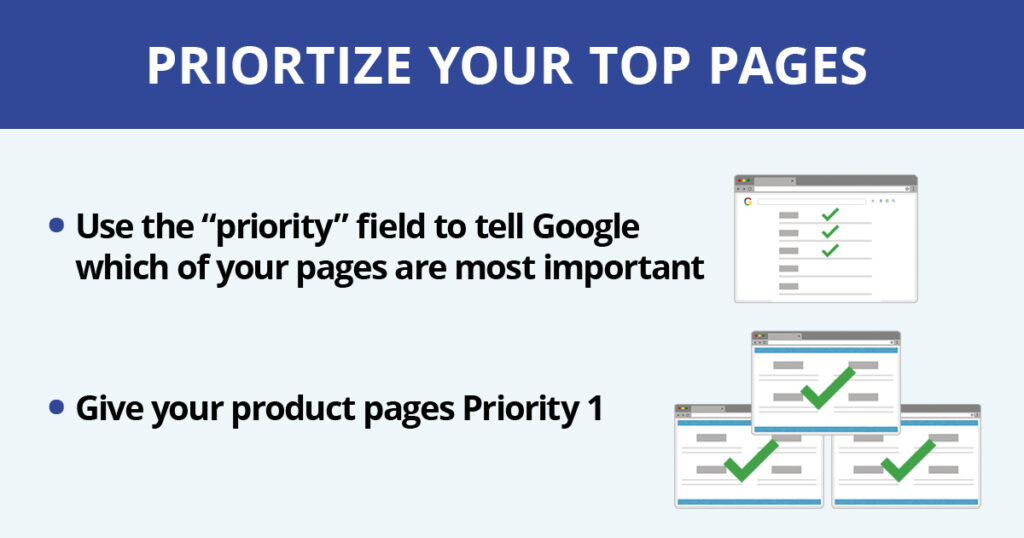
If you are building your own sitemap, you may be wondering which pages to prioritize over others. Pages with revenue tied to them, such as course product pages, should be priority number one, while pages that are not updated as often, with no revenue tied to them, can be a lower priority.
Guide to sitemap priority:
1.0-0.8 – Homepage, course pages, any page with revenue tied to it
0.7-0.4 blog posts, about page
0.3-0.0 FAQs, old press releases, static pages that never get updated
Guide to Sitemap “changefreq” (change frequency):
weekly – any pages that are updated weekly.
monthly – any pages that are updated monthly (for example, category pages).
yearly – any pages that are updated yearly (for example, contact us, about us, login, registration pages, course detail pages).
never – pages that never change such as old press releases.
Upload Your Sitemap to Your Website
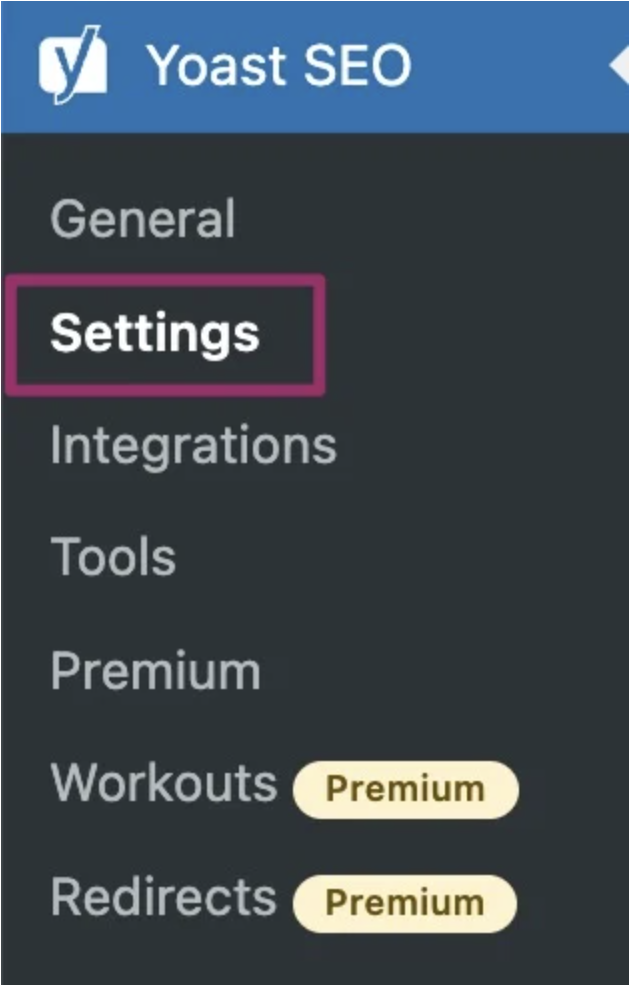
If you have a WordPress site and plan to use the Yoast plugin to build your sitemap, then all you have to do is go to the Yoast SEO plugin –> settings.
Next, find the XML sitemaps section and set XML sitemaps to “enable.”

If you do not use WordPress, you will need a developer’s help to upload your sitemap to your site’s root directory. Moreover, every time new URLs are added to the site, and you want them to appear in Google, you will need to add them to the sitemap and get a developer to re-submit the sitemap to the root directory. If the developer you are working with would rather automate this process, they can use this guide.
Submit Your Sitemap to Google
Once your sitemap is up and running on your site, submit your sitemap to Google so they know you have one.
Sign into Google Search Console. If you do not have Google Search Console set up, follow this guide.
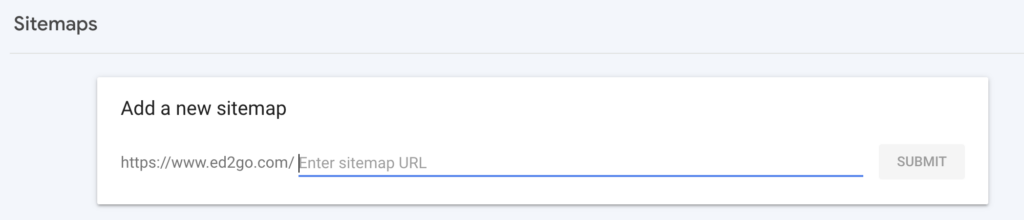
In Google Search Console, navigate to Index -> Sitemaps

Enter the subdirectory of the sitemap into the field and click submit.
Conclusion
XML sitemaps are a foundational part of SEO. SEO can be a lengthy process, and without a sitemap, it could take months for new pages to appear in Google or for updates to get noticed by Google. Your “SEO treasure map” helps Google discover your new and updated products faster, and in turn, show them to more organic customers.
In the next installment, we will cover some techniques for standing out from competitors and getting even more clicks to your products from Google Search.
For more information, please contact your Account Manager.